Showing posts with label low carb. Show all posts

Turnips Au Gratin


On a low-carb diet, even with the vast number of delicious "legal" dishes one can create, there are certainly things one misses, with only the memory of purposely-removed comfort foods remaining. For me, those often-craved bites include cheeseburgers with a bun (preferably a buttery brioche bun), chicken fried steak with cream gravy, Wavy Lay's with onion dip, and French Toast.

The fact that not one of those foods would be welcome on any realistic diet notwithstanding, with a little creativity, the low-carb foodie can find suitable replacements for some of the dearly departed foods. For example: boiled and pureed cauliflower to replace mashed potatoes, Splenda to replace sugar, baked parmesan chips (more on that another time) to replace crackers...but sliced turnips in place of sliced potatoes remains my favorite.

This is a variation of a Pioneer Woman recipe I stumbled upon when I first started reading her site. I never would have come up with it myself, nor would I have considered turnips in any way, shape, or form - simply because I had never tried one (even though they are a bit purple, and in my opinion, adorable).

After a few attempts at this dish, my biggest tip to a turnip first-timer would be to find the smallest turnips possible when selecting. I was all set to turn my family's notions on turnips upside down with this dish during a recent trip to New York, so I ventured across town to the one place I knew I'd find them: the giant Union Square Whole Foods, where I picked up 3 softball-size turnips and didn't give them a second thought as I hauled them back on the 7 train. When all was said and done and covered in thank-you-very-much-New-York-City-$17 Gruyere cheese, they tasted sharp and bit back like a raw radish would. The smaller ones here in Tennessee have proven to be much more tender and sweet, and much closer in taste to a potato. Plus, one cup of cooked turnips has 4.77 net carbs, while one cup of cooked potatoes has 15.7 carbs!

You will need:

5-6 small turnips, rinsed
2 cups Gruyere cheese (or whatever you want - Gruyere is just fantastic)
1 1/2 cups heavy cream or half and half
2 scallions, white and green parts, chopped
3 cloves garlic, minced
2 tablespoons butter (optional)
Salt and pepper

Start by bringing a pot of salted water to a boil. I will also add sugar or simple syrup to the water - I'm not really sure if it does anything, but I like to think that it sweetens the turnips just a tad to take the edge off.

Thinly slice the turnips. I leave the skins on, but you can take them off.


Add turnips to the boiling water and cook while you obsess over getting the perfect photo of yourself chopping scallions, which you won't even wind up including in your silly blog. By that point, the water will be boiling over and the turnips should be fork-tender. Drain immediately but do not rinse.


Allow the turnips to cool for easy handling, then remove one by one to a glass baking dish. Layer the turnip slices, slightly overlapping each other across the bottom of the baking dish.


Sprinkle on a little salt and pepper, a little garlic, a little scallion, and a few blobs of butter. Then...go for the cream.


Just do it.

Then, layer on some cheese.


Repeat until you've run out of turnips and/or room in your baking dish. Cook the turnips at 250 degrees for at least an hour - sometimes I go for two hours. Remove when the cream and cheese have reduced and the top is brown and bubbly.


Find yourself so transfixed by the gooey, cheesy plate that Dr. Atkins would bless as diet food in front of you that you forget to take a picture of the final product.

Butterflied, Roasted Chicken and Chicken Jus


I know what you're thinking - a roasted chicken is a roasted chicken is a roasted chicken. For a long time (until Friday), I thought the same. I also resigned myself to the fact that I was never going to get a chicken done in one shot, as every single time I've ever pulled a roasted chicken out of the oven, it's had to go back in with pink thighs and bloody legs. What was I doing wrong?

While not wrong, necessarily, I had not done the proper research. Thanks again to happenstance and Serious Eats, I learned the science behind a perfectly roasted chicken and put it to work the same evening. It would require using my kitchen shears for something other than Alyssa's craft projects for the first time, as well as a whole heckuva lot more preparation, but I'm never straying from the method. I even plan on cooking our Thanksgiving turkey the same way.

If you care to read about the science behind it, by all means, but basically it boils down to your roasting pan's hot and cold zones. The edges of the pan will always, always be hotter than the middle. Removing the backbone and flattening the chicken ensures that the thighs - the slowest-cooking part, as they must reach an internal temperature of 170 - rest on the hottest part of the pan, and don't cook way behind the breast. The same theory suggests that the breasts sit in the coldest (relatively speaking - internal temperature must be at least 150) part of the pan, therefore cooking more slowly, and won't be cardboardy chicken lumps by the time the thighs are safe to eat.

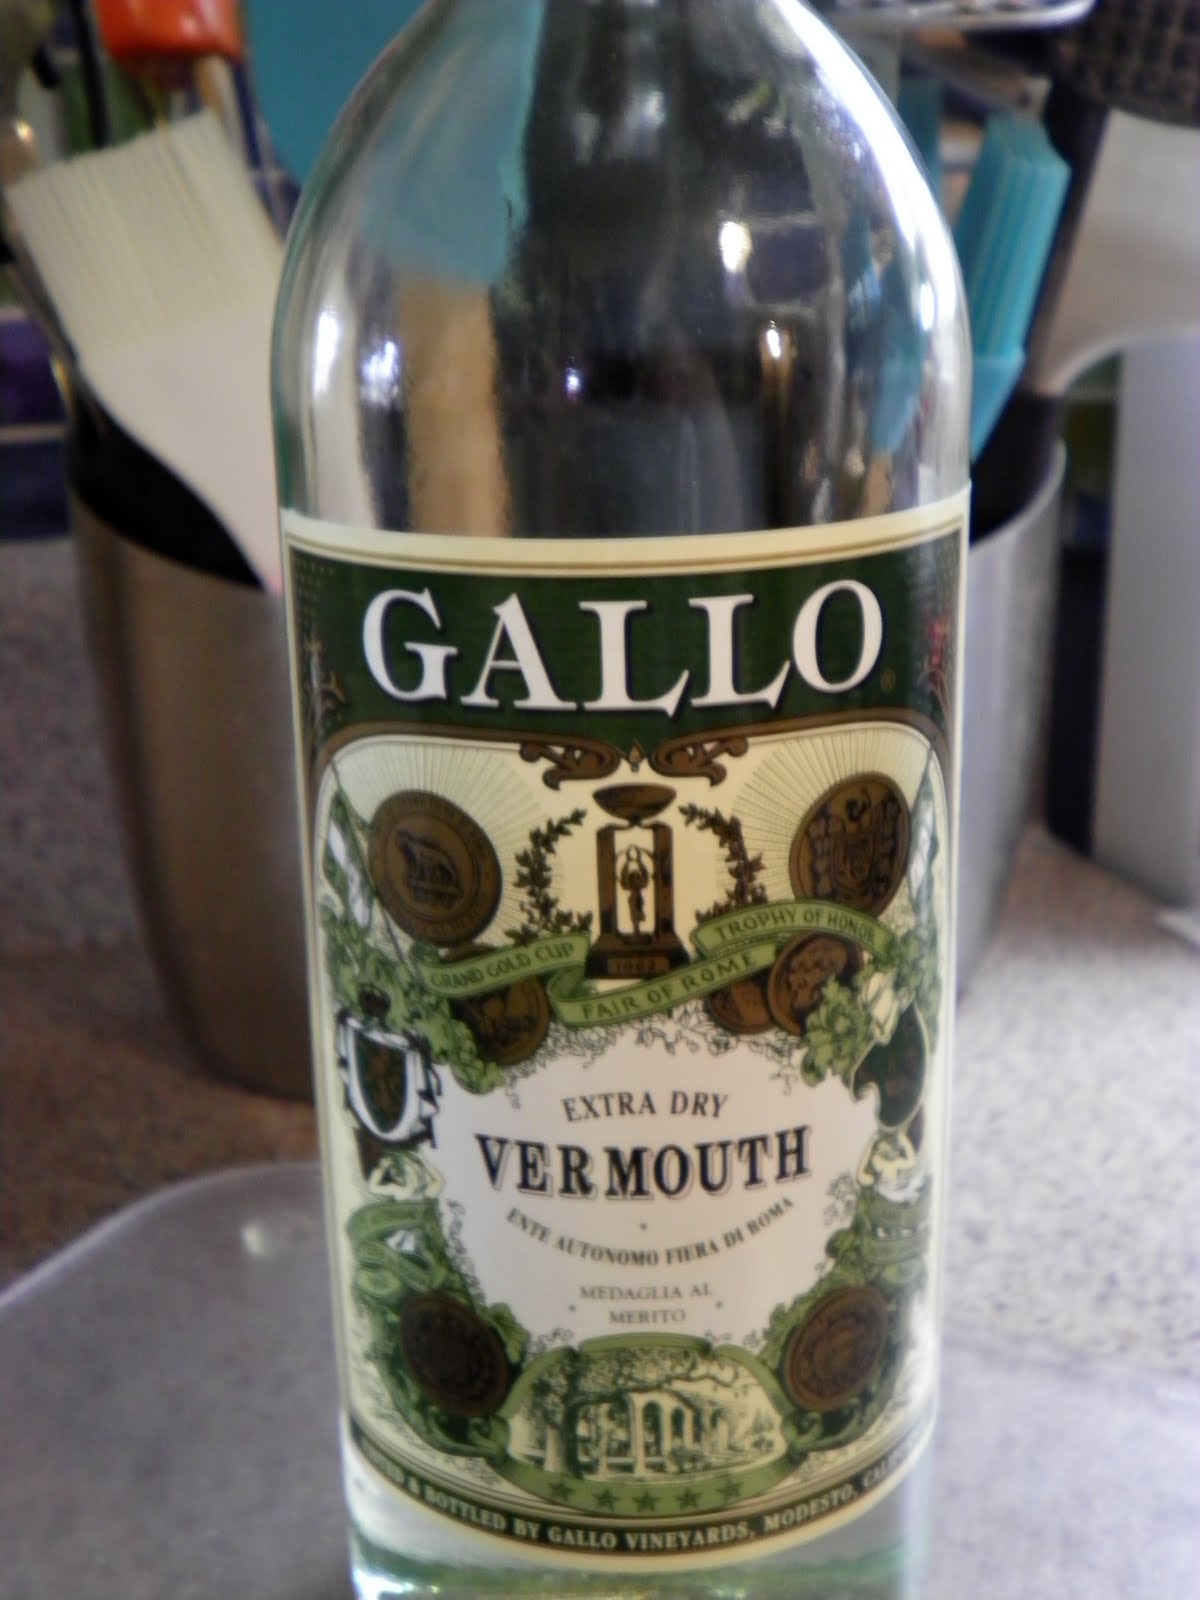
Besides, you can cook down the backbone for a velvety, vermouth-laced jus that jus to die for (couldn't resist).

Here's what you do and what you'll need (adapted from Serious Eats/J. Kenji Lopez-Alt):

For the chicken:

1 chicken, about 3 1/2 to 4 pounds
2 tablespoons olive oil
Salt and fresh ground black pepper
2 teaspoons chopped herbs (I used sage and parsley)
Various ground spices if desired (ground mustard, paprika, garlic powder, etc)

For the jus:

1 onion, roughly chopped
1 medium carrot, peeled and roughly chopped (I used 8 baby carrots cause that was all we had in the fridge)
1 stalk celery, roughly chopped
1 bay leaf
1 cup dry vermouth or sherry
1 teaspoon soy sauce
3 tablespoons unsalted butter
2 teaspoons juice from 1 lemon

Set oven rack to upper-middle position and preheat oven to 400 degrees. Using sharp kitchen shears, remove spine from chicken and cut into 5-6 1-inch long pieces.


This is kind of gross and difficult, but nothing my construction-paper-dulled kitchen shears couldn't handle. Set spine aside.

Flatten chicken by placing flat skin side up on cutting board and applying firm pressure to breast bone. Rub chicken on all surfaces with 1 tablespoon oil. Season generously with salt, ground black pepper, chopped herbs and various spices (I also used paprika, granulated garlic and ground mustard).


(Note: I apologize if you envisioned a gorgeously presentable, Norman Rockwell roasted chicken, perfectly trussed and plump for the table. This bird comes out of the oven ugly).

Set wire rack in rimmed baking sheet lined with aluminum foil. Position chicken so that breasts are aligned with center of baking sheet and legs are close to edge. Roast until thickest part of breast close to bone registers 150 degrees on an instant-read thermometer and joint between thighs and body registers at least 170 degrees, about 45 minutes.

Meanwhile, heat remaining tablespoon oil in small saucepan over high heat until shimmering. Add chicken spine and cook, stirring frequently, until well browned, about 3 minutes. Add onion, carrot, and celery and cook, stirring frequently, until beginning to brown, about 3 minutes. The aroma is unreal right now.


Add bay leaf and deglaze with vermouth or sherry and 1 cup water, using wooden spoon to scrape up any browned bits from bottom of pan. Reduce heat to maintain simmer and cook for 20 minutes.


Strain out solids and return liquid to pan. Boil over medium-high heat until approximately 1/3 cup remains, about 7 minutes. Whisk in soy sauce, butter, and lemon juice off heat. Season to taste with salt and pepper.

Remove chicken from oven, transfer to cutting board, tent loosely with foil, and allow to rest five minutes before carving. Serve with hot jus.

Drunken Citrus Chicken


Sticking to the rules of marinating (acid/oil/herbs), these skin-on, bone-in chicken thighs bathe in silver tequila (100% agave is always preferred), Meyer lemon juice, orange juice, lime juice, cilantro, jalapenos and green onions for 2-4 hours before cooking entirely under the broiler. Don't fear the broiler!


You will need:

4 skin-on, bone-in chicken thighs
Salt
Pepper
Paprika
Cayenne pepper
Garlic powder
Onion powder
Lime juice - the equivalent of two fresh-squeezed limes (about 3 tablespoons)
Juice of two Meyer lemons (if available - optional)
1/4 cup orange juice
Three green onions, white and light green parts only, chopped
2 jalapenos, roughly chopped, seeds and ribs intact
Handful cilantro
1 cup tequila (any kind)

Rinse chicken and pat dry. Season liberally with salt, pepper, paprika, cayenne, garlic powder and onion powder. Set aside in a medium-sized bowl.

In another bowl, combine tequila, citrus juices, green onions, jalapenos, cilantro and citrus rinds. Add a pinch of salt and pour over the chicken. Cover the bowl with plastic wrap and refrigerate for 2-4 hours, or overnight if possible. Remove the citrus rinds, cilantro and jalapenos before cooking!

Cover the bottom of a roasting pan with aluminum foil and place a roasting rack in the pan. Spray the rack and the bottom of the pan with cooking spray. Adjust the top rack of your oven to approximately 8 inches from the broiler; set broiler to low if possible. Keeping the door of the oven partially ajar, broil chicken thighs until they start to crisp, about 3 minutes. Flip and broil the other side until crispy, about another 3 minutes. Continue flipping chicken every 3-4 minutes, basting on occasion with leftover marinade, until an instant-read thermometer reads 165-170 degrees.

I set my smoke detector off approximately 87 times throughout the broiling and flipping process, but again, please don't fear the broiler! It's a misconception that food won't cook properly if cooked under the broiler, as it basically emulates an outdoor grill. As long as your chicken is far enough away from the broiler, and you pay close enough attention to the chicken as it's broiling, you can obtain a crispy (but not burnt) skin and fully-cooked meat. Crispy skin, juicy meat...what's so frightening?

Shrimp with Black Pepper and Sesame Chili Oil


Simple. Spicy. Inexpensive.

These are some of my favorite adjectives when discussing food. This recipe is the epitome of all three, plus delcious and very satisfying. I use frozen, pre-cooked, tail-on fish, which work quite well, but I'm sure the deliciousness could be cranked up by replacing with raw jumbo or tiger shrimp. Using cooked shrimp saves money (mine were less than $4 a bag at Aldi), and though shrimp are quick cookers anyway, saves time. Cooked shrimp will produce nice grill marks in less than 30 seconds on a hot grill.

A note about sesame chili oil

Josh and I stopped in at the Asian market on the way home from work last night. What a find! Between frozen fish and fresh herbs, not to mention, of course, the rows and rows of spices and sauces, I'll be changing the way I shop for groceries from here on in. Very surprisingly though, I couldn't find sesame chili oil (surprising as I have easily found it in the past at Target), so I bought both chili oil and sesame oil, figuring I could just mix them in an empty bottle one to one. I poured the chili oil over the shrimp without tasting it first, and as an afterthought poured a little on my finger for a taste.

It was the taste of pure evil.


My eyes watered as my tongue burst into flames, and I flailed frantically around the kitchen for something to squelch the heat. Luckily my side dish for the evening called for fresh bread crumbs, so I had a slice of bread within easy reach. I digress. The point is, I had to add sesame oil to the shrimp I'd already splashed with chili oil, hoping the whole time that it wouldn't turn out too oily. There was just no way I could serve it undiluted.

Bottling my own chili sesame oil, I wound up using a two to one mixture in favor of sesame oil. Pure Asian chili oil is simply too hot for a one to one ratio with sesame oil. Trust me.

On with the recipe! You will need:

Bamboo or metal skewers for grilling
One bag frozen cooked/raw shrimp, thawed, or one pound raw shrimp from the seafood counter (about 25 count), peeled and deveined
3 cloves garlic, minced
1 tablespoon salt
2 tablespoons black pepper
3 tablespoons chili sesame oil (bottled, or mixed at home as previously mentioned)
1 tsp lime zest or lime juice, optional

Soak skewers in water while preparing if using wooden skewers, to prevent scorching on the grill.

Place shrimp in a mixing bowl. Toss with garlic, salt and pepper. If using cooked shrimp, taste one to check seasonings and adjust as per your preference. Toss with oil, add lime zest or juice if using, and set in the refrigerator to marinate for 30 minutes to an hour. No worries if you don't have time to marinate; it will still be plenty flavorful.

Thread 4-5 shrimp on a skewer and cook on a preheated grill for 30-45 seconds per side for cooked shrimp, or for 1-2 minutes for raw shrimp.

Creamy Parmesan Chicken


This is a standby. I’ve made it for my parents, my grandparents, college roommates, my brother, Italian-food-hating friends, and picky children. I have yet to feed it to a person whose eyes haven’t rolled back in their head while asking for more sauce, and one ex-boyfriend went so far as to pour some leftover sauce over his popcorn. I don't recommend that, by the way, but it is a testimony to its decadence. It’s unexpected, and it’s so easy I could do it blindfolded.

My parents moved to Wisconsin in 2004. They stumbled upon a darling Italian restaurant in a nearby town called the Mississippi Belle, owned by Chef Frank Amendola, and brought us there one year for Christmas Eve dinner. My life as a home cook changed forever when I ordered the Chicken Bianco...I had to have that chicken in my life, but I would soon be far away from Wisconsin come the end of Christmas break. So I went back to school, and in my tiny dorm room kitchen practiced and perfected my own version of Chef Amendola’s recipe. And it’s a good thing, too – the restaurant is since under new ownership, and Chicken Bianco was removed from the menu. In fact, it's not even an Italian restaurant anymore.

I usually serve this with some broccoli sautéed in olive oil and garlic, and with a big loaf of toasted Italian bread. The sauce goes far, but it doesn’t reheat very well. If you must reheat it, do it in a saucepan over low heat, and add a little extra cream to keep the liquids from separating.

You will need:

4 whole boneless, skinless chicken breasts
2 slices deli ham
4 slices Mozzarella cheese (sandwich sliced)
2 tablespoons butter
2 cloves garlic, finely minced
1 pint heavy whipping cream, or a combination of heavy cream and half-and-half, equal parts of each
½ cups grated Parmigiano-Reggiano cheese (or any bagged/jarred/container of Parmesan will do)
1 teaspoon chopped flat leaf parsley
Salt and pepper, to taste
    Heat the oil over medium-high heat in a skillet.

    Pound the chicken breasts to flatten just slightly. Salt and pepper liberally on both sides.

    Add the chicken to the hot oil and brown on both sides, until cooked most of the way through (you will later finish the chicken in the oven). It should bounce back a bit when pressed with a finger. Remove chicken from the pan and drain off oil on paper towels.

    To make the sauce:
    While the chicken is cooking, melt butter in a separate skillet over low heat. Once butter is melted, add minced garlic and raise heat slightly. Cook until soft (do not allow garlic to brown).
    Pour in heavy cream and reduce heat. Once the cream starts to bubble/froth, add in Parmesan cheese and stir quickly to prevent it from sticking to the pan. Add chopped parsley and stir. Allow mixture to thicken, coating the back of a spoon; it should be slightly thinner than an Alfredo sauce. Add salt depending on the saltiness of your Parmesan cheese. Add cheese until sauce is sufficiently thick, and drop heat as low as possible to keep warm.

    To assemble the chicken:
    Cut 2 slices of ham in half, or into whatever size will cover your chicken breasts. Place one slice of ham and one slice of mozzarella on top of each breast and place into a glass baking dish. Top chicken breasts with the entire pan of sauce and place in a 400-degree oven. Cook for about 15 minutes, until the cheese browns slightly and the sauce bubbles.